
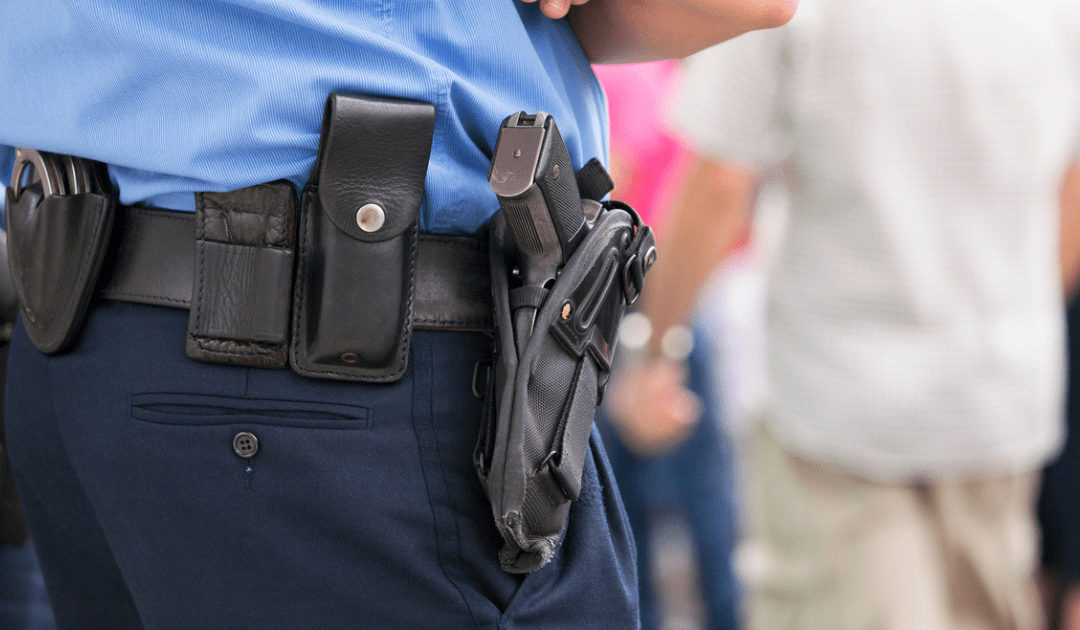
For those in law enforcement, security, or any profession where a duty belt is part of the daily uniform, having the right setup is critical.
It’s not merely about carrying all the necessary gear – it’s about having it readily accessible and comfortably positioned for those moments when you need it.
Essential Gear of a Duty Belt
Your duty belt is more than just an accessory to your uniform. It’s an important part of your gear that keeps you prepared for anything.
Always prioritize safety, performance, department regulations, and convenience when assembling your duty belt.
Here are some standard items to include in your duty belt setup, as well as some optional items to consider including.
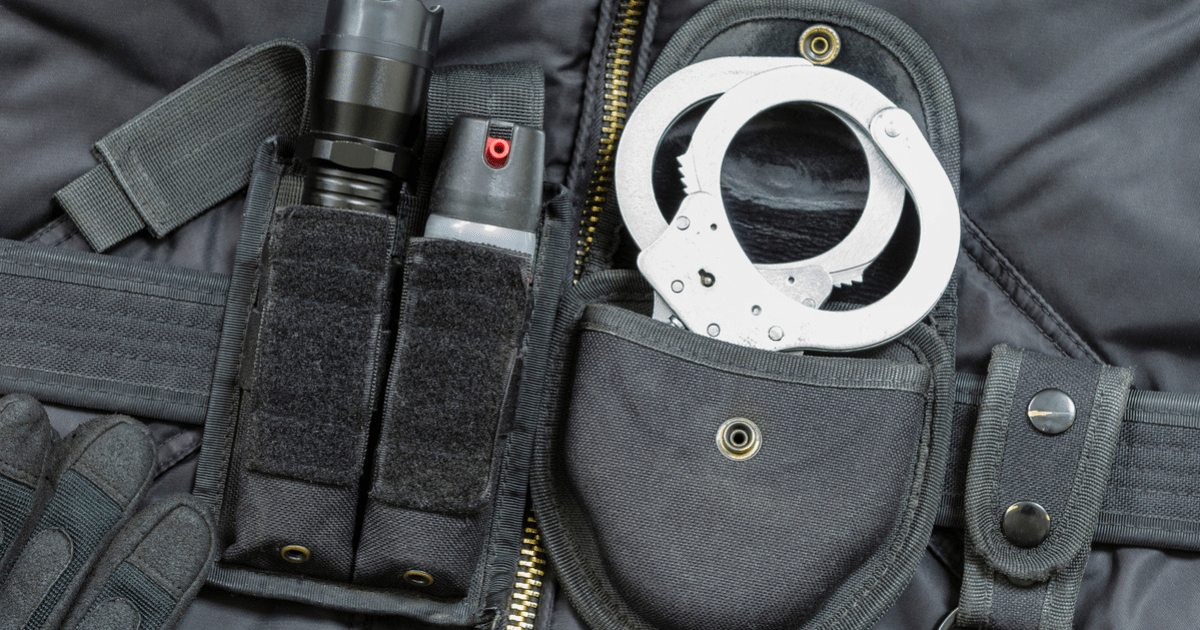
Standard Items
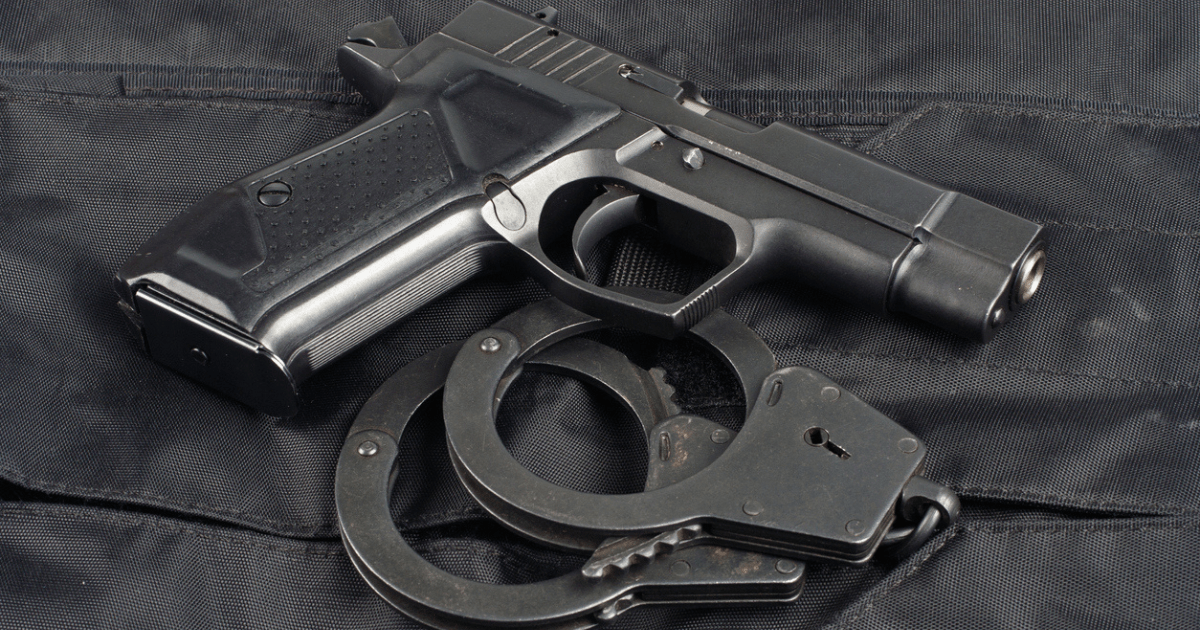
- Handgun: The type of handgun you carry typically depends on department regulations.
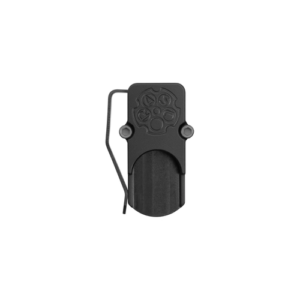
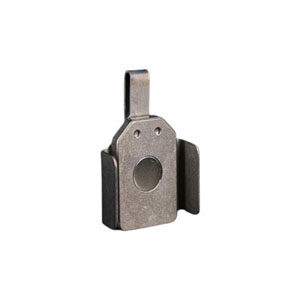
- Extra magazines: You can use a standard magazine pouch or consider NeoMag’s Magnetic Pocket Magazine Holder. It’s discreet, reliable, and provides quick access to additional ammo.
- Flashlight: Whether you’re searching for a suspect or simply need to illuminate your path, a flashlight is indispensable.
- Baton: A non-lethal alternative for subduing a suspect.
- Pepper spray: Another non-lethal option for maintaining control in volatile situations.
- Handcuffs: Always have a spare pair in case the unexpected happens.
- Radio: Vital for maintaining communication with your team or dispatch.
Optional Items
- Taser: A less-lethal option that can incapacitate a suspect from a distance.
- First aid kit: In the field, you may need to provide immediate medical aid, either to yourself or others.
- Multi-tool: Handy for various situations.
- Camera: Useful for recording evidence or encounters.
- Notebook: Ideal for jotting down important details on the go.
Remember, the most effective duty belt setup is one tailored to your specific needs and the demands of your role.
Choosing the Right Gear
When filling your duty belt, making the right choices can make all the difference in your performance and safety.
The selection process should be a thoughtful one, taking into account several essential factors like efficiency, comfort, and safety.
Adherence to departmental regulations
First and foremost, you must adhere to your department’s regulations.
These guidelines dictate what type of equipment you can carry and where it should be positioned on your belt. Make sure to familiarize yourself with these rules before purchasing any new gear.
Equipment tailored to specific roles
The specific role you play in your department or organization can influence the equipment you need on your duty belt.
For instance, a patrol officer or security guard will require different gear compared to a detective or a SWAT team member. Always consider the demands and requirements of your particular role when selecting your equipment.
Considerations for weight, size, durability, reliability, and ease of use
- Weight and size: Your duty belt and its components should be as lightweight and compact as possible without compromising functionality. An overly heavy belt can cause discomfort and slow you down.
- Durability: Your gear will see a lot of use. Opt for equipment built to last, made from durable materials that can withstand the rigors of daily use.
- Reliability: In critical situations, your life could depend on your equipment. Choosing gear you can count on to work correctly every time is crucial.
- Ease of use: Your equipment should be easy to operate, even under stress.
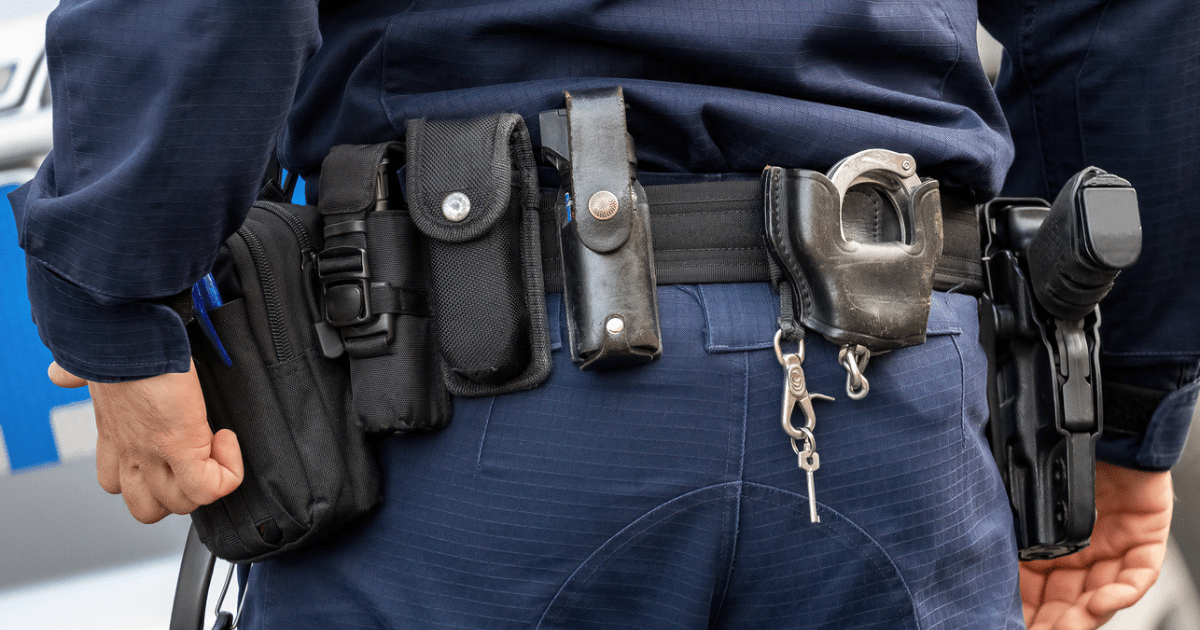
Positioning Gear on Your Duty Belt
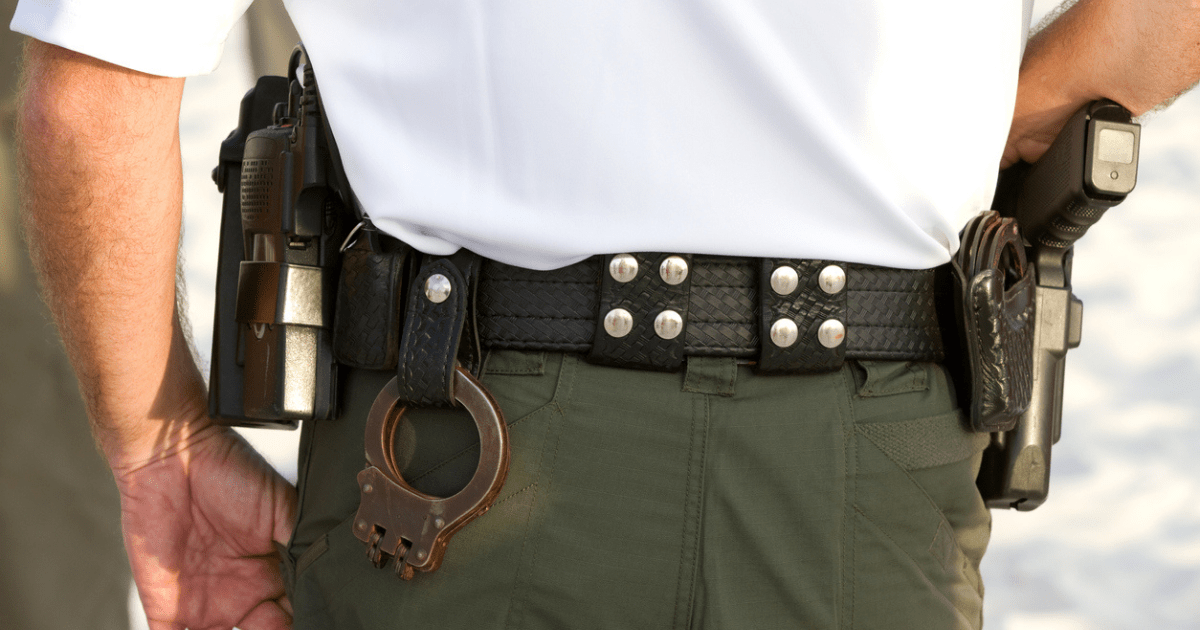
Once you’ve chosen your equipment, the next step is to position it correctly on your duty belt. Proper placement not only ensures easy access but also enhances comfort and allows for unrestricted movement.
Remember to adjust your belt regularly for optimal comfort and performance. What works best for you may change over time as you gain experience and your role evolves.
Guidelines for easy access and movement
As a general rule, divide your belt into the front, side, and back zones.
- The front zone, from your belly button to the hip bones, is the most accessible area.
- The side zones, extending from the hip bones to the back of your hips, are the next most accessible areas.
- The back zone is the least accessible and is often used for items that aren’t urgently needed.
Keeping these zones in mind, the positioning of your gear should facilitate swift and efficient access.
- Most frequently used items (like your firearm) = Front zone
- Gear like batons, flashlights, or TASERs = Size zones
- Less-needed items (like extra handcuffs) = Back zone
Placement based on hand dominance
In optimizing your duty belt, consider the dominance of your hands.
Place the most critical items, like your firearm, on your strong side for quicker and more natural access. Conversely, gear such as tasers or non-lethal options can be positioned on your weak side, facilitating a tactical approach.
This distinction ensures that in high-pressure situations, your dominant hand can instinctively reach for the most vital tools, while your non-dominant hand handles support equipment.
Customizing for comfort and efficiency
Everyone’s body is different, and your duty belt setup should reflect that. What works for an officer built like a linebacker may not work for an officer with a smaller build.
Tightness of the belt
The belt should be snug enough to hold your equipment securely without causing discomfort.
If it’s too tight, it can interfere with your ability to move freely and may even cause health issues like back pain or circulation problems.
If it’s too loose, your gear may shift around or your belt may sag, both of which can hinder your performance.
Where the belt sits
Ideally, your duty belt should sit just above your hips. This position allows for optimum weight distribution, reducing strain on your lower back.
However, based on your body shape and comfort, you might prefer it slightly higher or lower. Experiment with different positions to find what works best for you.
Weight distribution strategies for comfort
Proper weight distribution is crucial for comfort, especially if you’ll be wearing your belt for extended periods.
Balance heavier items (like your firearm) with lighter items on the opposite side of the belt. This helps prevent the belt from tilting and reduces strain on your back and hips.
You may also want to consider looking at lighter-duty belts to help reduce the overall weight you’re carrying around.
Another option is to find ways to take the weight off your belt by storing items elsewhere.
For example, the NeoMag Magnetic Pocket Magazine Holder allows you to remove the weight of extra magazines and instead carry those in your pocket. This can provide some relief to your back and hips, as well as give quick, easy access to spare magazines.
Testing and Adjusting Your Duty Belt
After you’ve chosen your equipment and positioned it on your belt, the next step is testing and adjusting.
This process ensures your setup works efficiently in real-world scenarios and is comfortable for long-term wear.
Importance of testing in simulated scenarios
Testing your duty belt in simulated scenarios is essential for assessing its functionality.
Practice drawing your firearm, reaching for your handcuffs, or grabbing your flashlight. This practice helps you identify any issues with accessibility or ease of use that might not be evident until you’re in action.
Also, simulate various situations you might encounter in your role. For example, if you’re a patrol officer, practice getting in and out of a patrol car. If you’re likely to be running, include some sprints in your testing.
The goal is to ensure your gear stays secure and accessible in all scenarios.
Adjustments for balance, comfort, & accessibility
Based on your testing, you may need to make adjustments to your duty belt.
This could involve repositioning items for better balance or accessibility, adding or removing gear, or adjusting the tightness of the belt for improved comfort.
Remember, proper weight distribution is crucial. Balance heavier items with lighter ones to prevent the belt from tilting and causing stress on your back or hips. Or remove items to lighten your load and store those items somewhere else on your body, like storing extra mags in your pocket with a magnetic pocket magazine holder.
Regular checks for optimal performance
Regularly checking and maintaining your duty belt is vital for optimal performance.
Inspect your gear for signs of wear and tear, ensure everything is clean and working correctly, and replace any items as needed.
Also, be open to making adjustments over time. As your role evolves, or as you gain more experience, you may find that different setups work better for you. Flexibility and adaptability are key to ensuring your duty belt continues to serve you well.
Mastering Your Duty Belt Setup for Maximum Performance
From selecting the right equipment to careful placement, testing, and regular maintenance, each step plays a vital role in ensuring your duty belt serves its purpose efficiently and comfortably.
Remember that what works best can evolve, so be open to adjustments and updates. Ultimately, a well-organized duty belt not only facilitates your work but also contributes to your safety and well-being in the line of duty.
